From Clay to Object: How a Ceramic Vase Is Made at Durao Studio
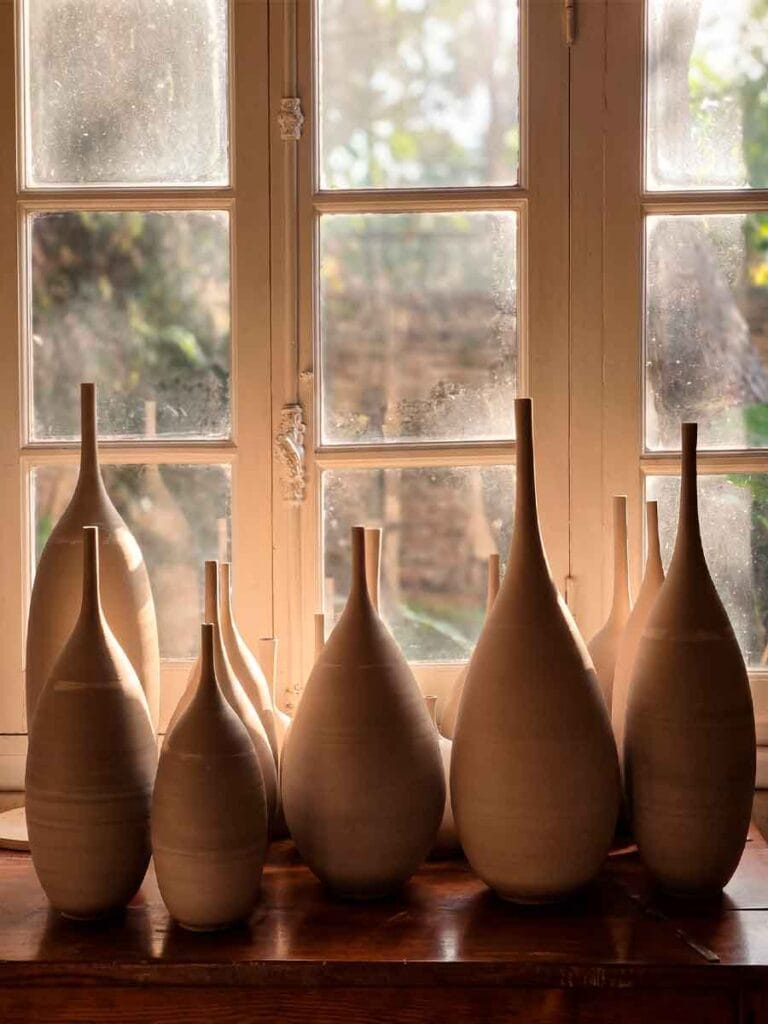
People ask me how ceramic vases are made. The honest answer is that how ceramic vases are made depends entirely on who is making them and how. A vase cast in a mold in a factory and a vase thrown on a wheel in a studio are both ceramic — but they are made by entirely different processes, from entirely different intentions, and they produce entirely different objects.
This is how a ceramic vase is made at Durao Studio. Six steps, no shortcuts.
Step 1 — The Clay
Everything begins with the clay body. I work with high-fire stoneware — a dense, coarse clay that vitrifies at 1200°C and produces objects with a weight and permanence that lower-temperature clays cannot achieve. The clay arrives in my studio as a prepared body, but I condition it before use: wedging it by hand to eliminate air pockets and create a uniform consistency throughout.
A piece of clay that goes onto the wheel with air bubbles inside will crack during firing. The wedging is not optional. It is the first act of attention that every piece requires — and the first place where shortcuts show up, hours or days later, as failures.
Step 2 — How Ceramic Vases Are Made on the Wheel
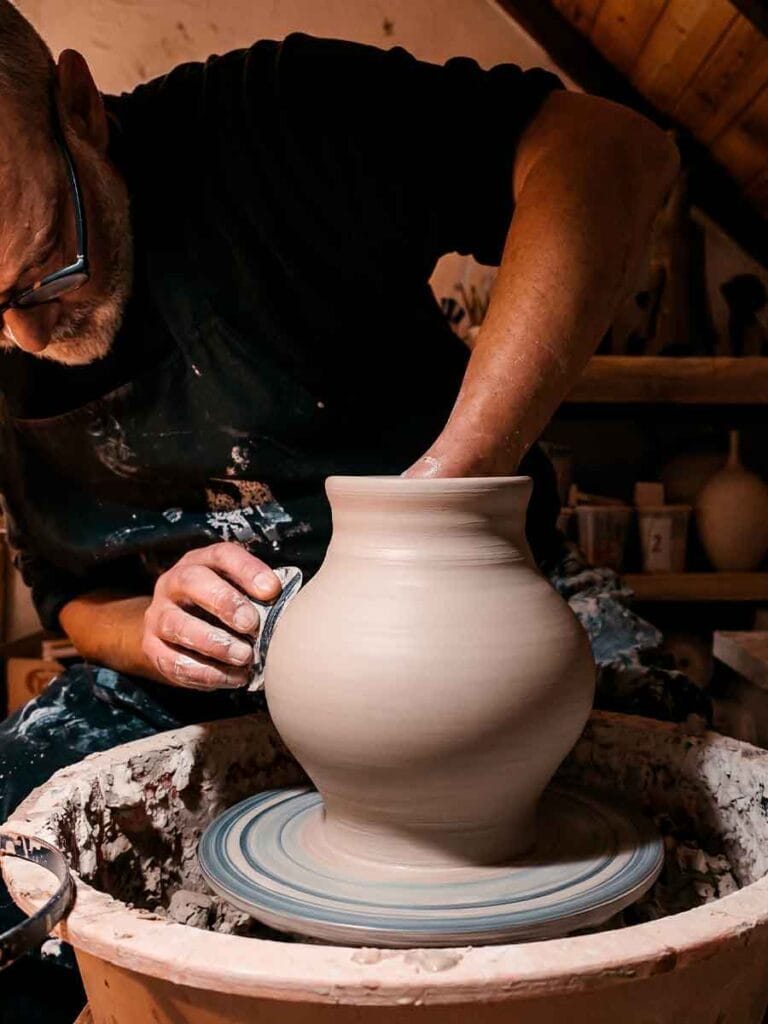
The wheel is where the form is decided. I center the clay — a process of applying even pressure as the wheel spins to bring the clay into perfect rotational balance — and then open it, raise the walls, and shape the form from the inside out.
Centering took me years to learn. After thirty-five years, it is automatic — but it is never trivial. A piece that is not perfectly centered will not throw evenly, and a wall that does not throw evenly will not survive the firing. Every form I make begins with that discipline.
The throwing itself is fast relative to everything that follows. A vase might take fifteen minutes on the wheel. It will take weeks to become the finished object.
Step 3 — Trimming and Refining
After throwing, the piece rests. It needs to dry to what ceramicists call leather-hard — firm enough to handle without distorting, still damp enough to be worked. That stage can take hours or days, depending on the size of the piece and the humidity of the studio.
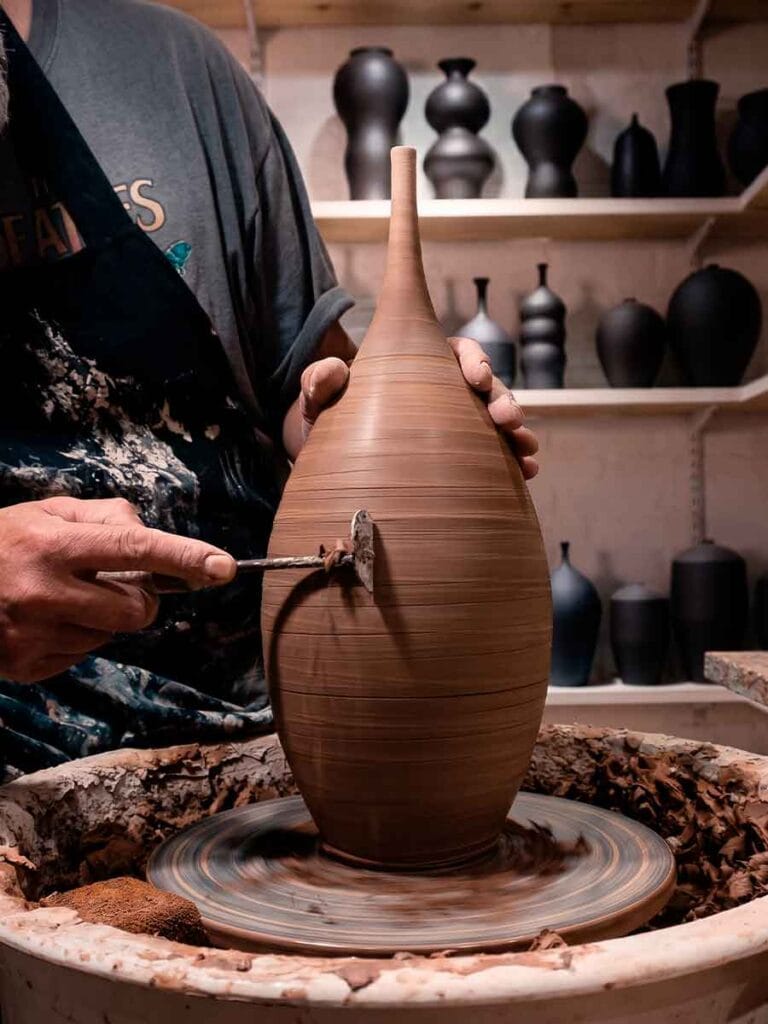
When the piece reaches leather-hard, I trim it. Trimming is done on the wheel: the piece is inverted and centered again, and a metal tool removes excess clay from the base and foot ring. It is a subtractive process — I am taking away what doesn’t belong, refining the form from the outside in the same way the throwing refined it from the inside.
After trimming, I inspect every piece carefully. I am looking for anything that would disqualify it before it goes further — a wall too thin in one place, a curve that doesn’t resolve correctly, a base that isn’t level. Pieces that don’t pass this inspection are discarded. The clay goes back to the wedging table.
Step 4 — Applying the Mineral Slip
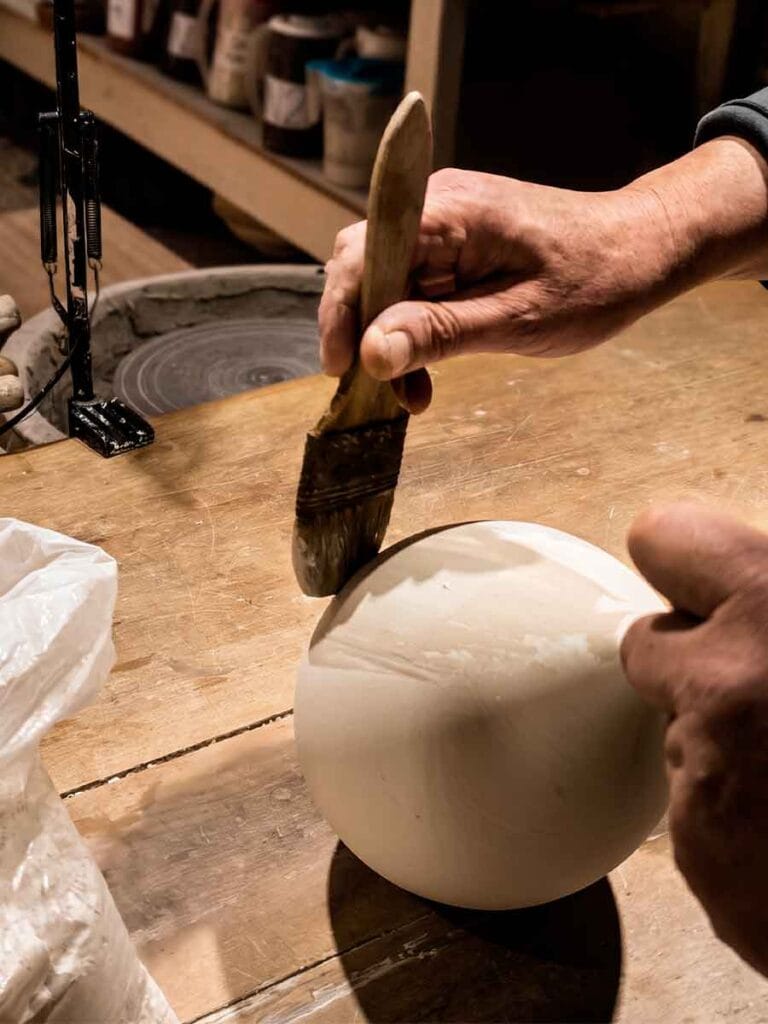
Once the piece is trimmed and fully dry, I apply the mineral slip. The slip is a formula I have developed over more than thirty years — a mixture of clays, iron oxides, feldspars, silica, and other minerals, mixed to a specific consistency and applied by brush, directly onto the raw clay body.
The application is done in layers. Each layer must dry before the next is applied. The number of layers depends on the collection — the Unikas Black requires more layers to achieve its depth of color, the Unikas Quartz fewer, to preserve the mineral texture of the surface. I brush each layer in a specific direction, which influences how the surface reads after firing.
The slip at this stage looks nothing like the finished piece. It is pale, chalky, almost powdery. What it will become only becomes visible inside the kiln.
Step 5 — The Firing at 1200°C
The slipped piece enters the kiln. I load carefully — the pieces cannot touch each other, the weight distribution on the shelves must be balanced, the air circulation inside the kiln must be unobstructed. Loading a kiln well is its own skill, developed over years of understanding how heat moves through refractory brick.
I fire slowly. The temperature rises over many hours, passing through the critical stages — quartz inversion, the burning off of chemically bound water, sintering, and finally vitrification at 1200°C. At that temperature, the feldspar in the clay and in the slip begins to flux, filling the microscopic spaces between particles. The slip fuses permanently with the body beneath it. The object becomes what it will be.
Then the waiting. The kiln cools for as long as it took to fire — sometimes longer. I do not open it until the temperature drops below 100°C. What happens inside during those hours of cooling is beyond my control. The fire is the final editor. I have learned to accept its decisions.
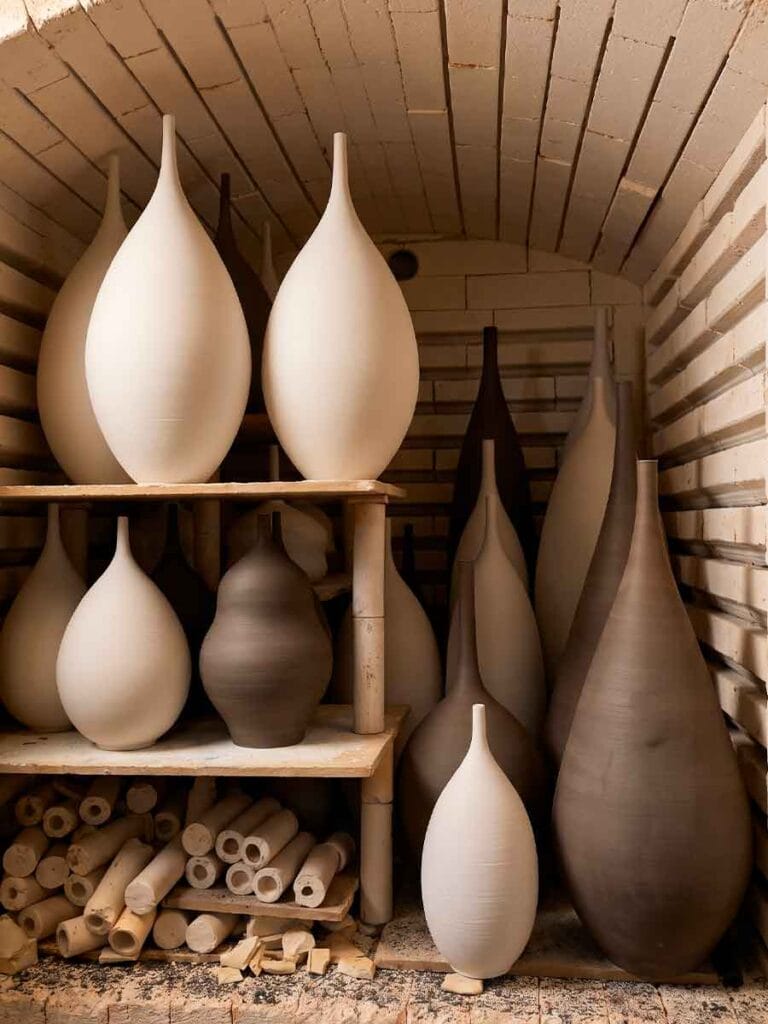
Step 6 — How Ceramic Vases Are Made Complete: Selection and Certificate
Understanding how ceramic vases are made means understanding that the last step is also the most decisive. Some come out exactly as I imagined. Others are better — the fire did something I didn’t anticipate and the result is stronger than my intention. Occasionally, a piece is lost: cracked during cooling, warped by uneven heat, or simply not what it needs to be. Those pieces don’t leave the studio.
The pieces that pass are signed, documented, and paired with a certificate of authenticity. The certificate confirms that the work is an original, one-of-a-kind handmade ceramic art object — not a reproduction, not part of an edition. It includes the collection name, the piece reference, and my signature.
That certificate is the last step of a process that began weeks earlier, with a ball of clay on the wedging table. Everything between that moment and the signed certificate is what the price reflects — not a brand, not a name, but a process that cannot be shortened without changing what the object is.
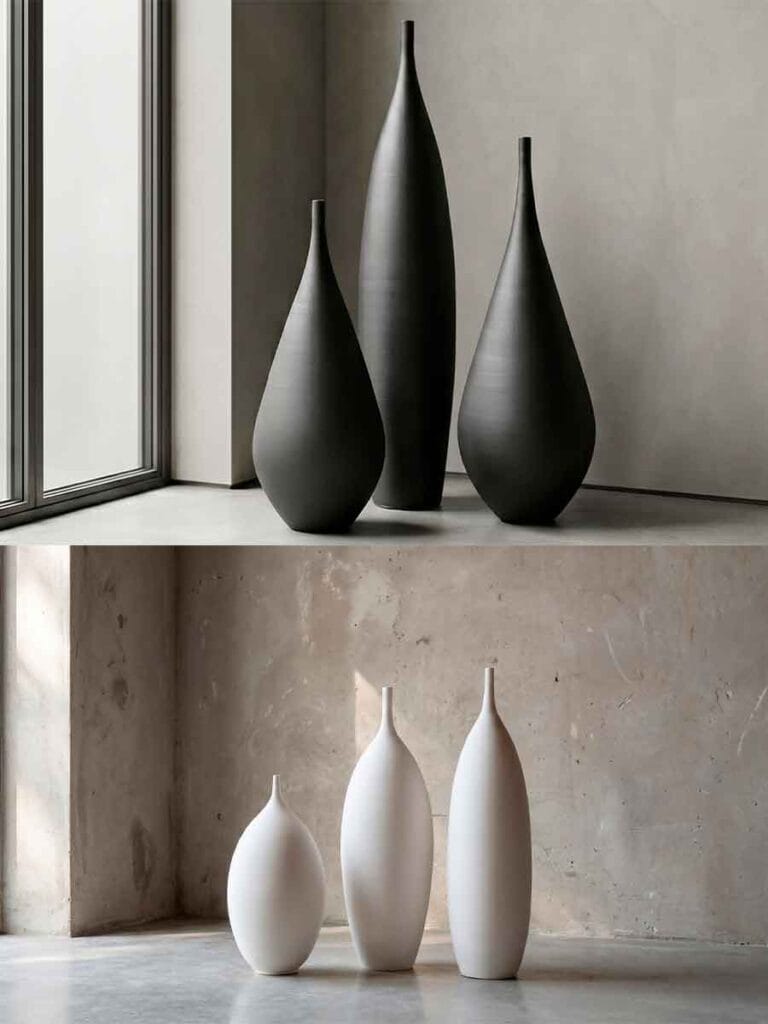
This is how ceramic vases are made at Durao Studio — one at a time, from raw clay to finished object, without shortcuts. Each piece in the Unikas Black, Unikas Quartz, and Moradores collections passed through every one of these steps.
You can read more about the material in What Is High-Fire Stoneware, about the surface in Mineral Slip Ceramics, or about the firing in Stoneware Firing Temperature — What Happens at 1200°C.
To inquire about a specific piece, contact Fernando directly.
For further reading on the history and technique of studio pottery, see the Studio pottery entry on Wikipedia.